
Lost-Key Service
Set up the key in the editor
In the key editor: assign an ID, enable “Generate loss QR code”, and set the QR code and loss contact email.

How the finder flow works
From key setup in the app to owner notification — in five steps
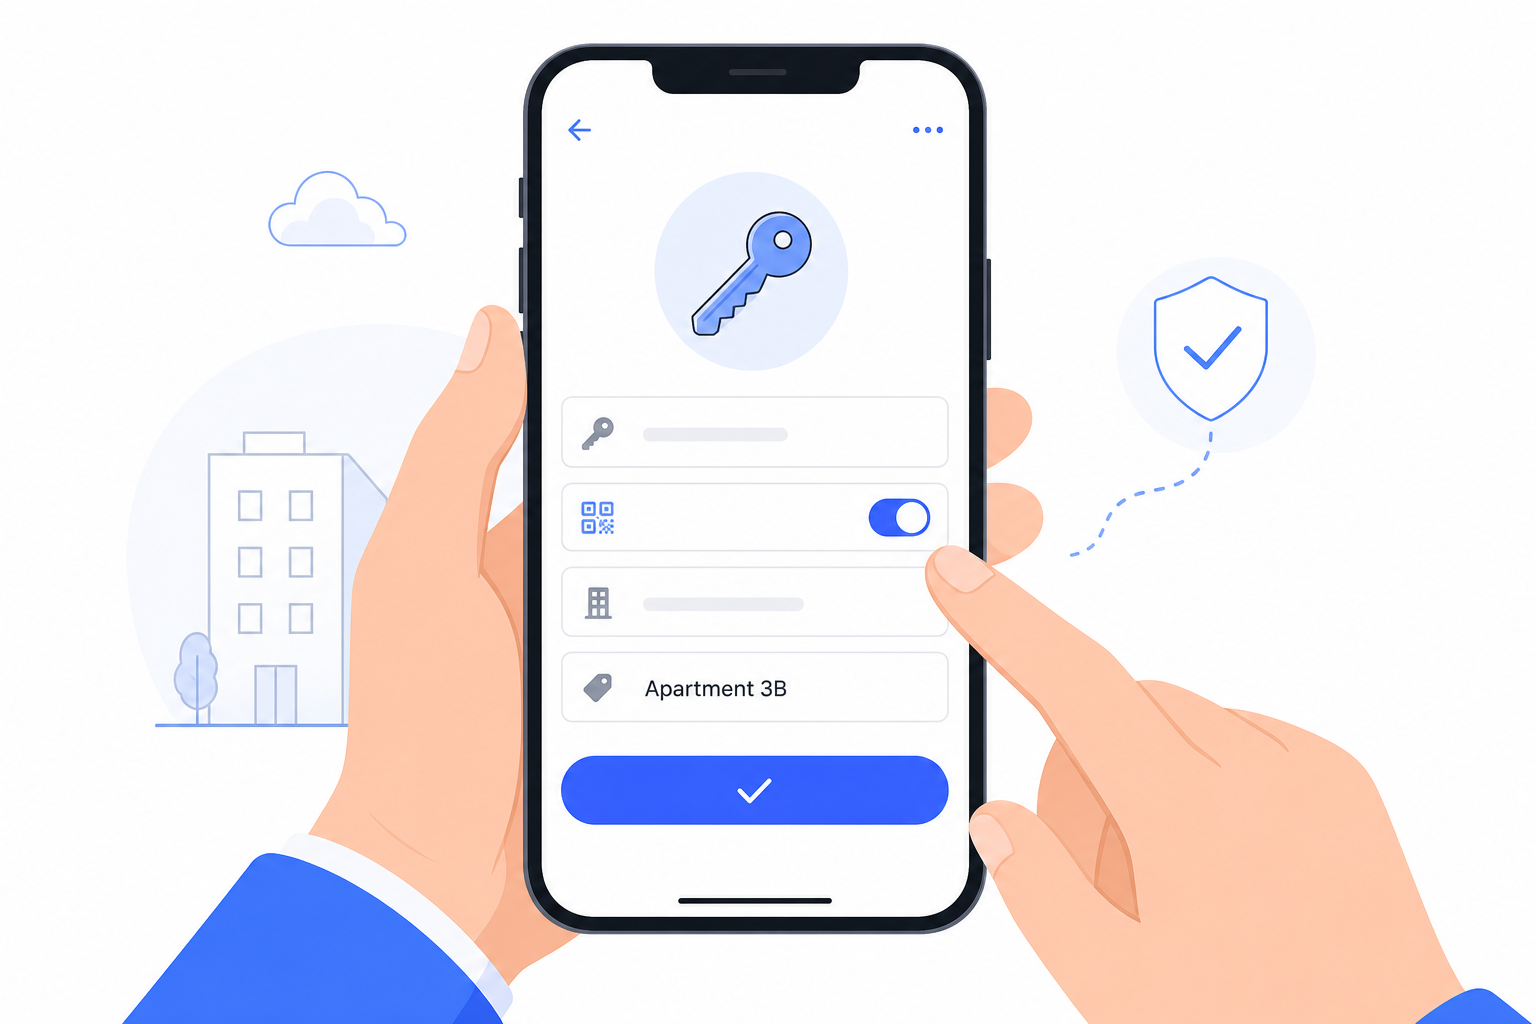
Create a key on the object: assign an ID, enable Lost Key, and generate the QR code.
Scan or assign the QR code on the tag — the key is uniquely linked to the object.
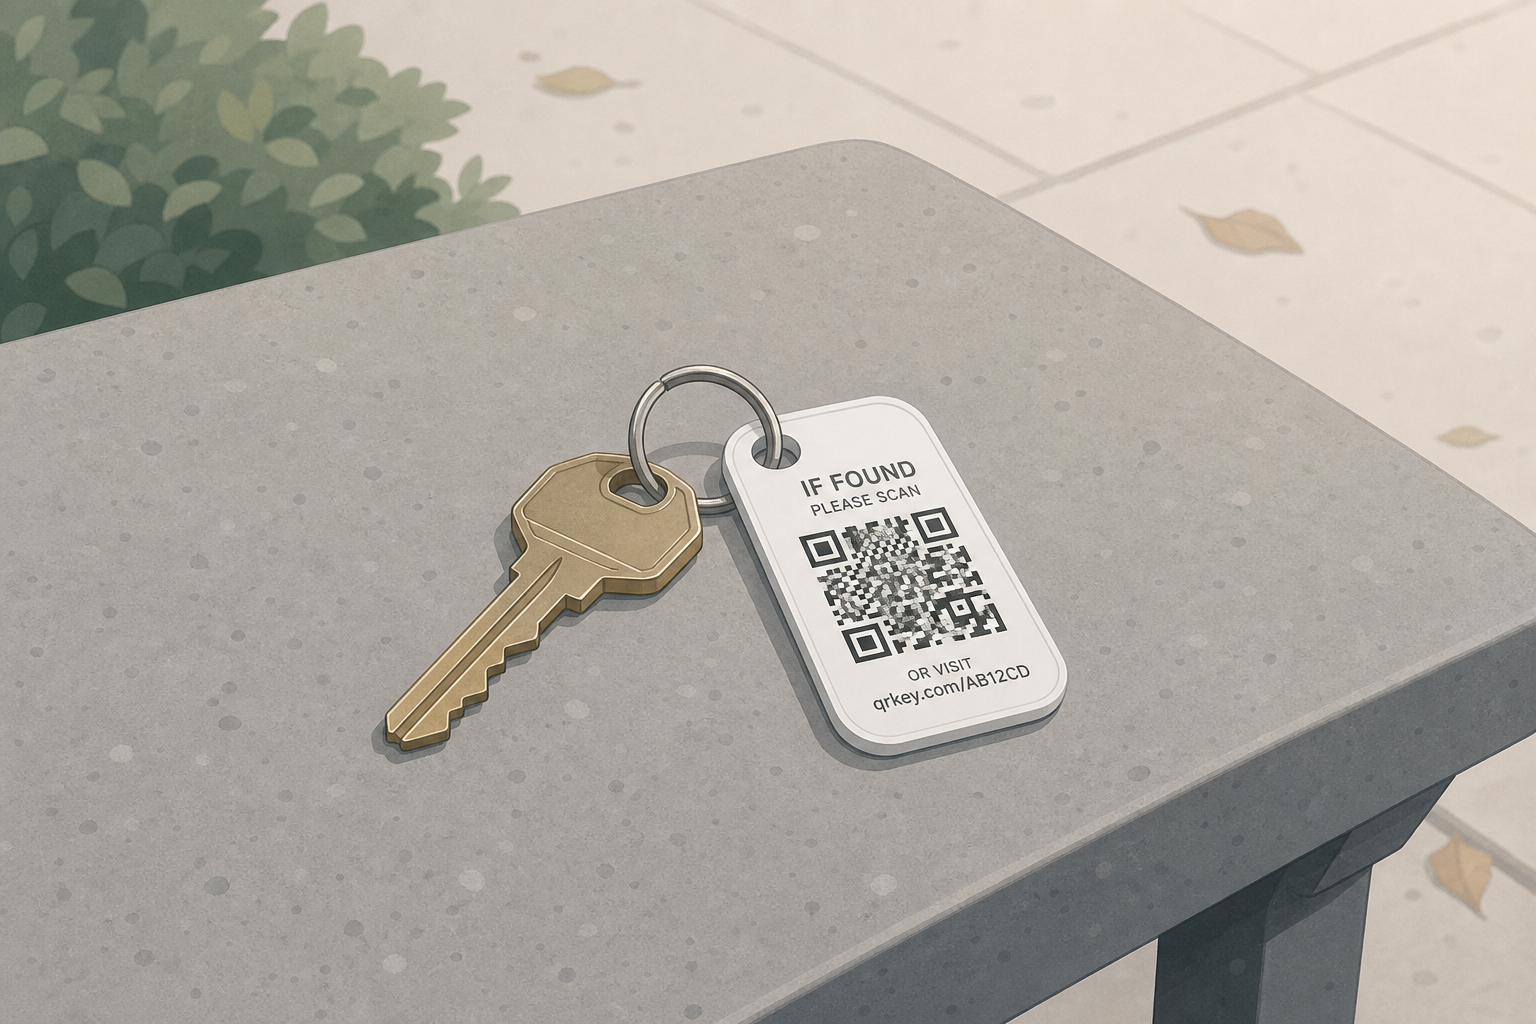
The key is lost — only the anonymous QR ID remains visible on the tag.
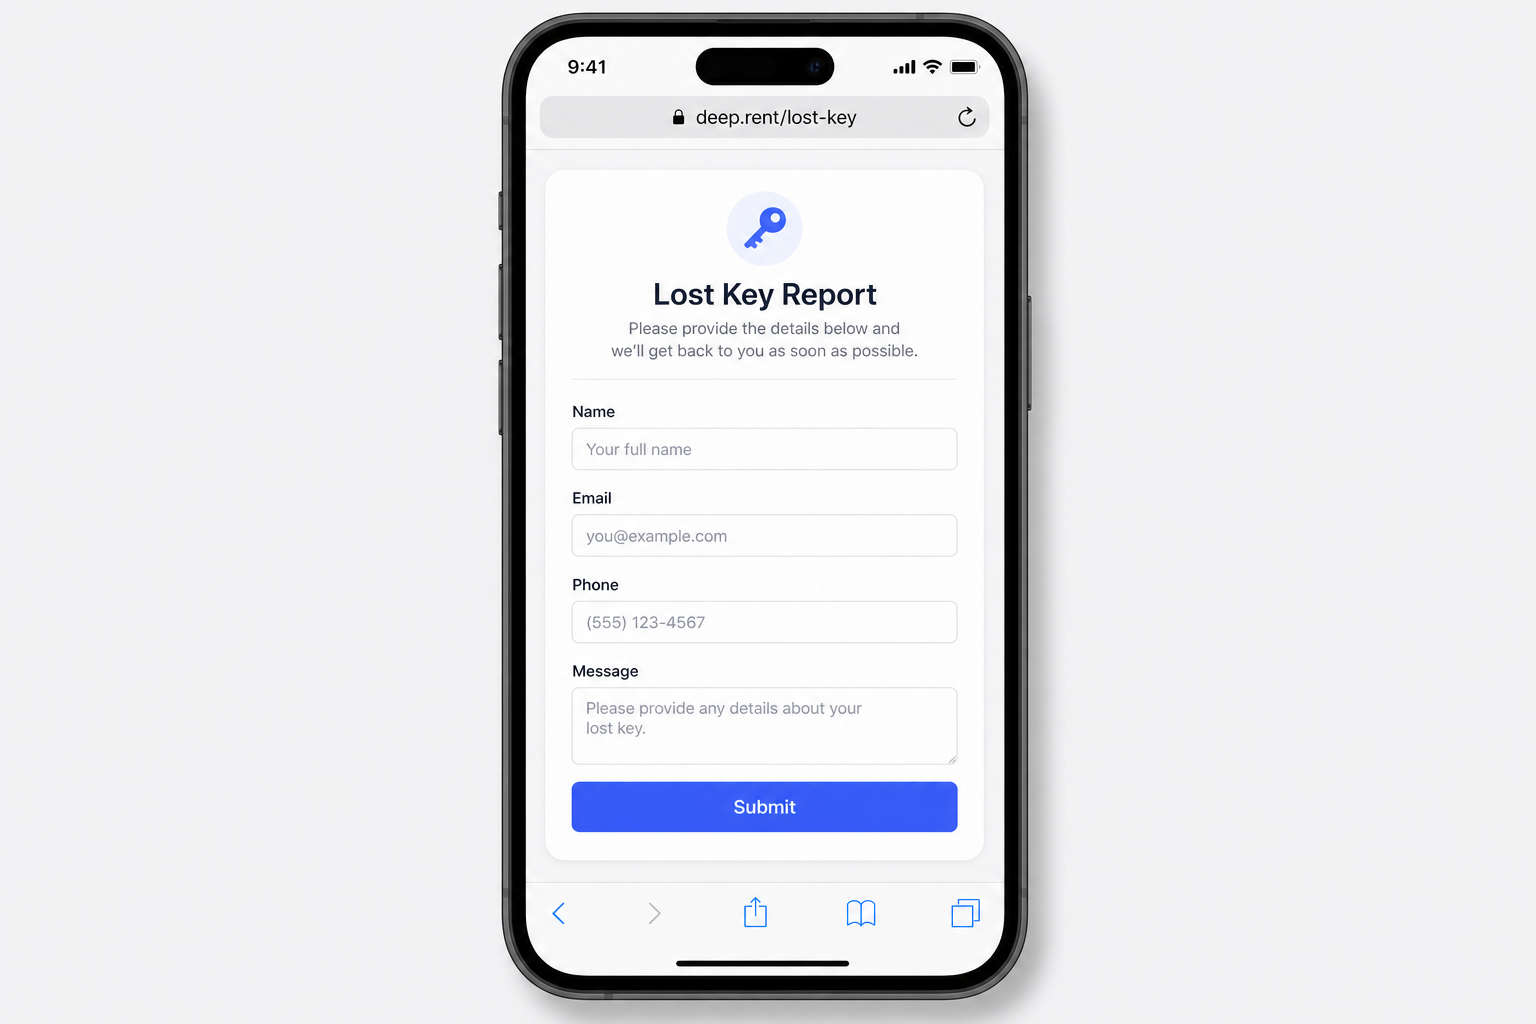
The finder scans the QR code and enters their contact details on deep.rent/lost-key.
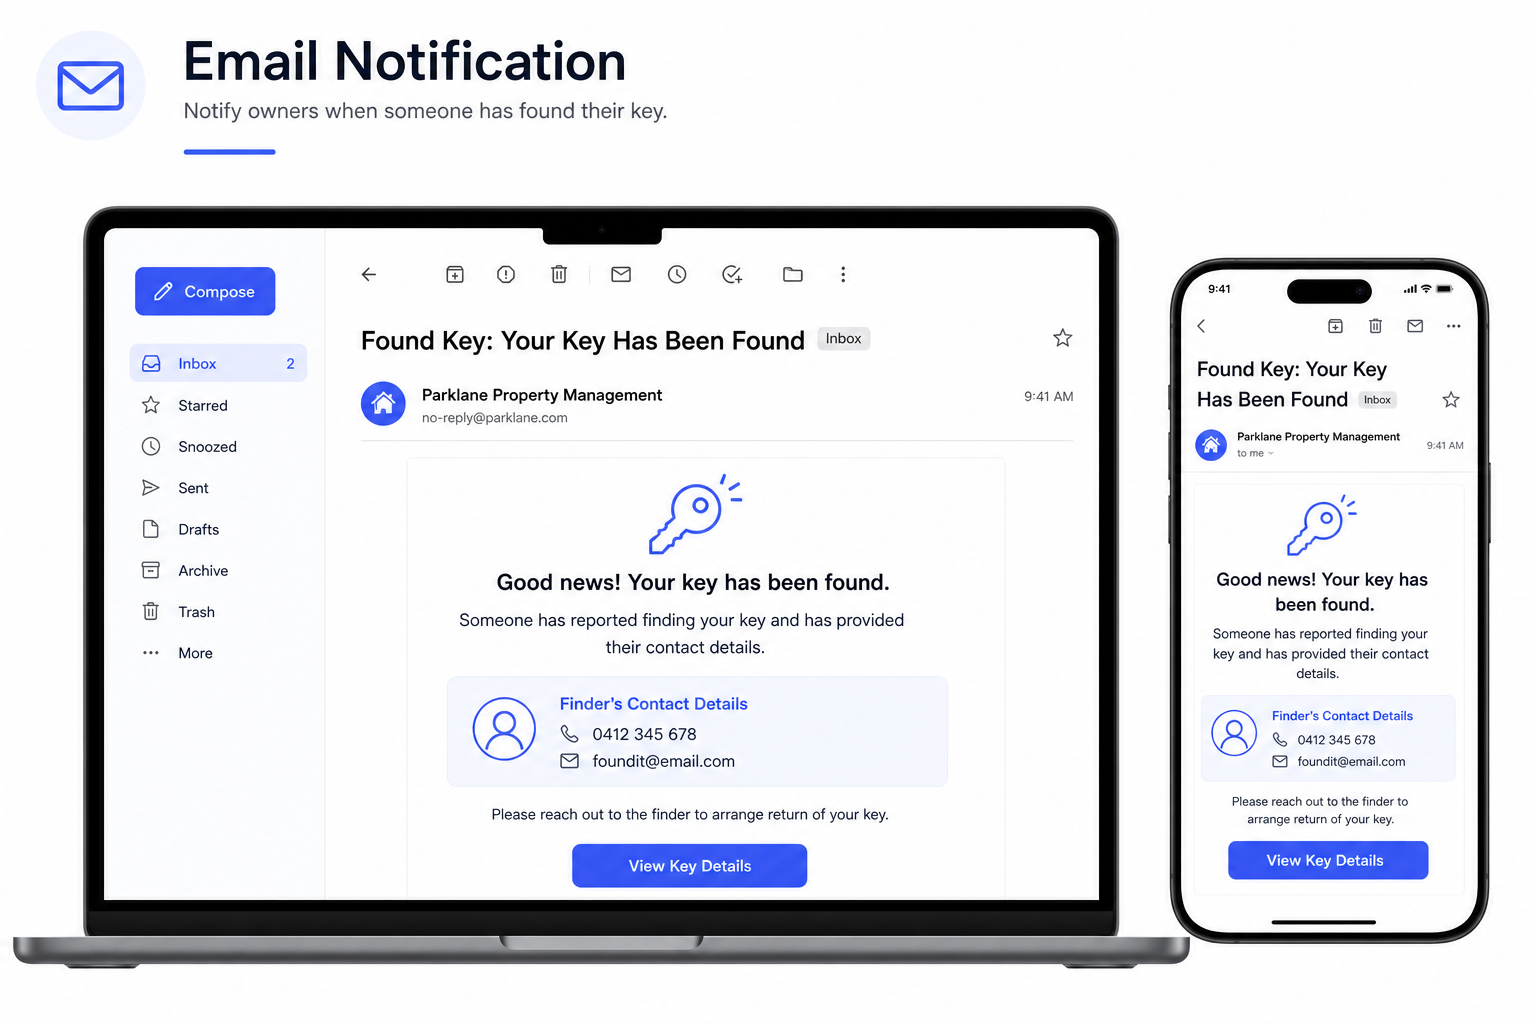
The owner (configured email) receives a notification that the key was found.
Identify keys in the app
From tag to scanner — QR setup, finder report, and scan result
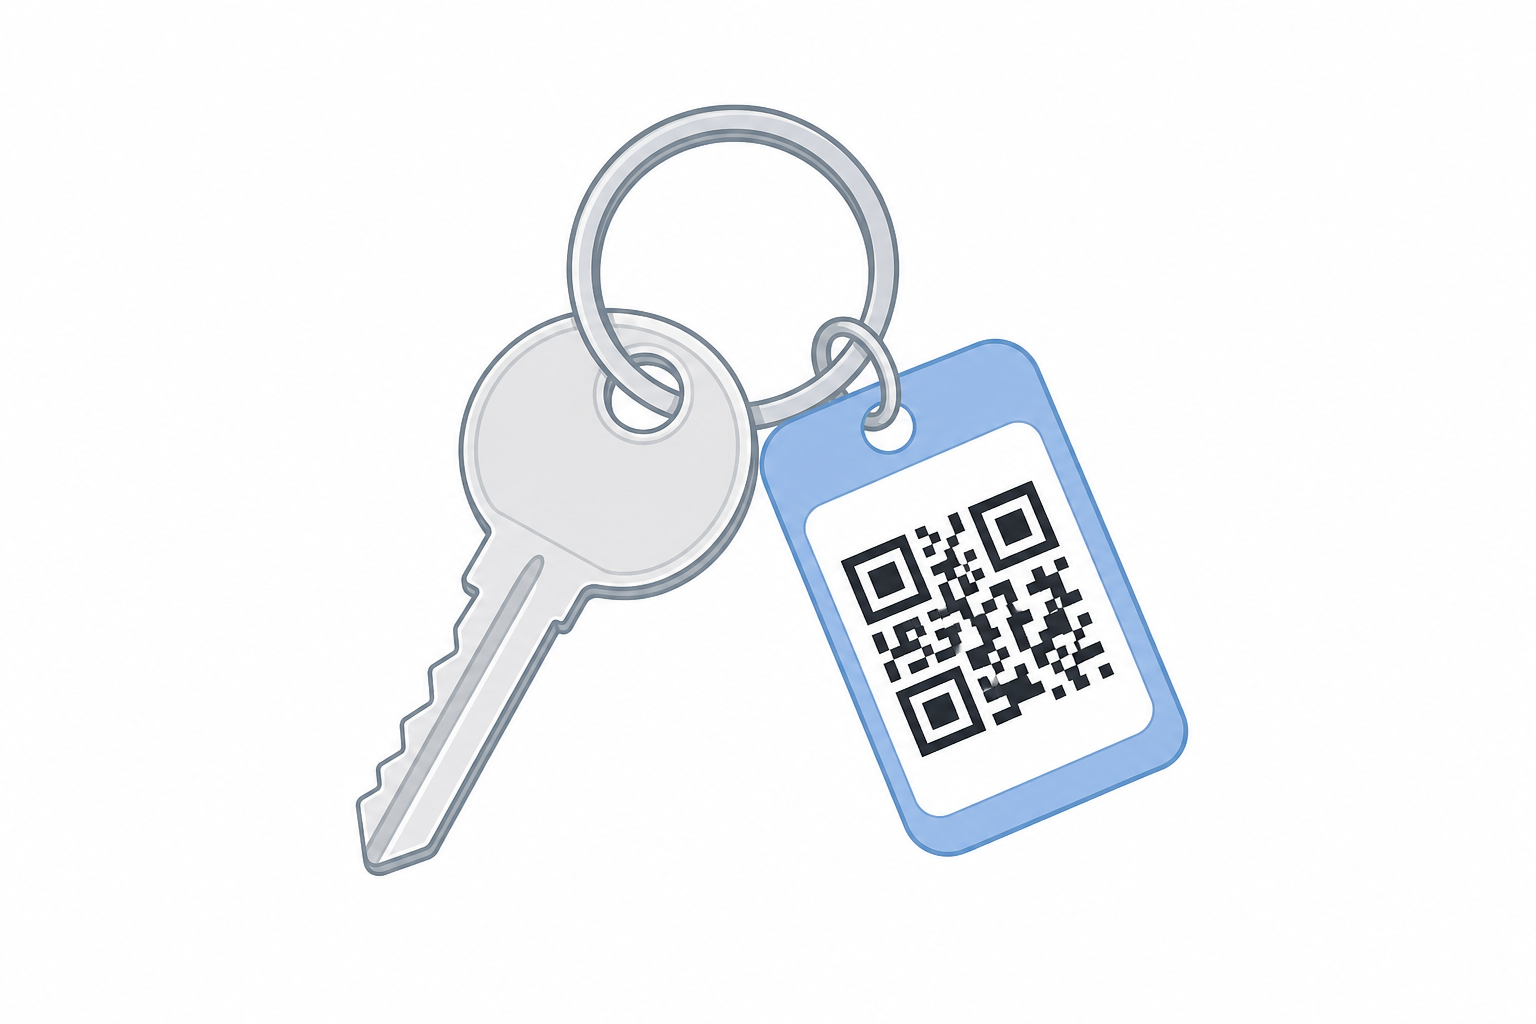
Each key set gets a unique ID — on the tag as a QR code, without private contact details.
In the key editor: assign an ID, enable Lost Key, and generate or scan the QR code.
Finder scans the QR code and reports the find — the owner receives an email.
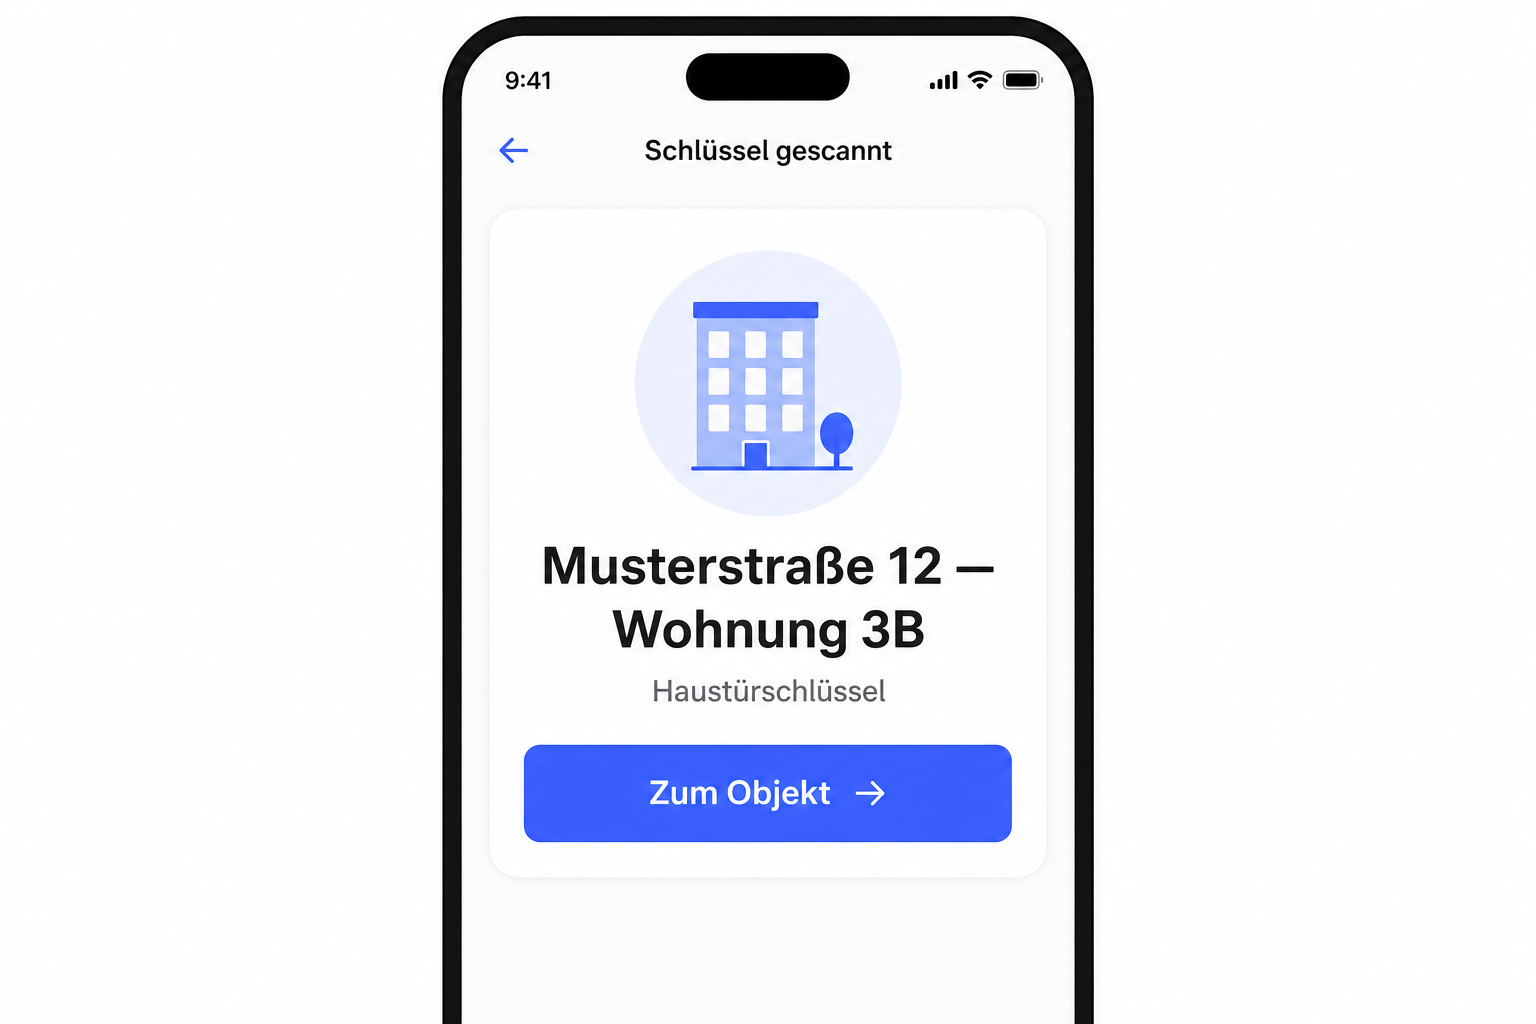
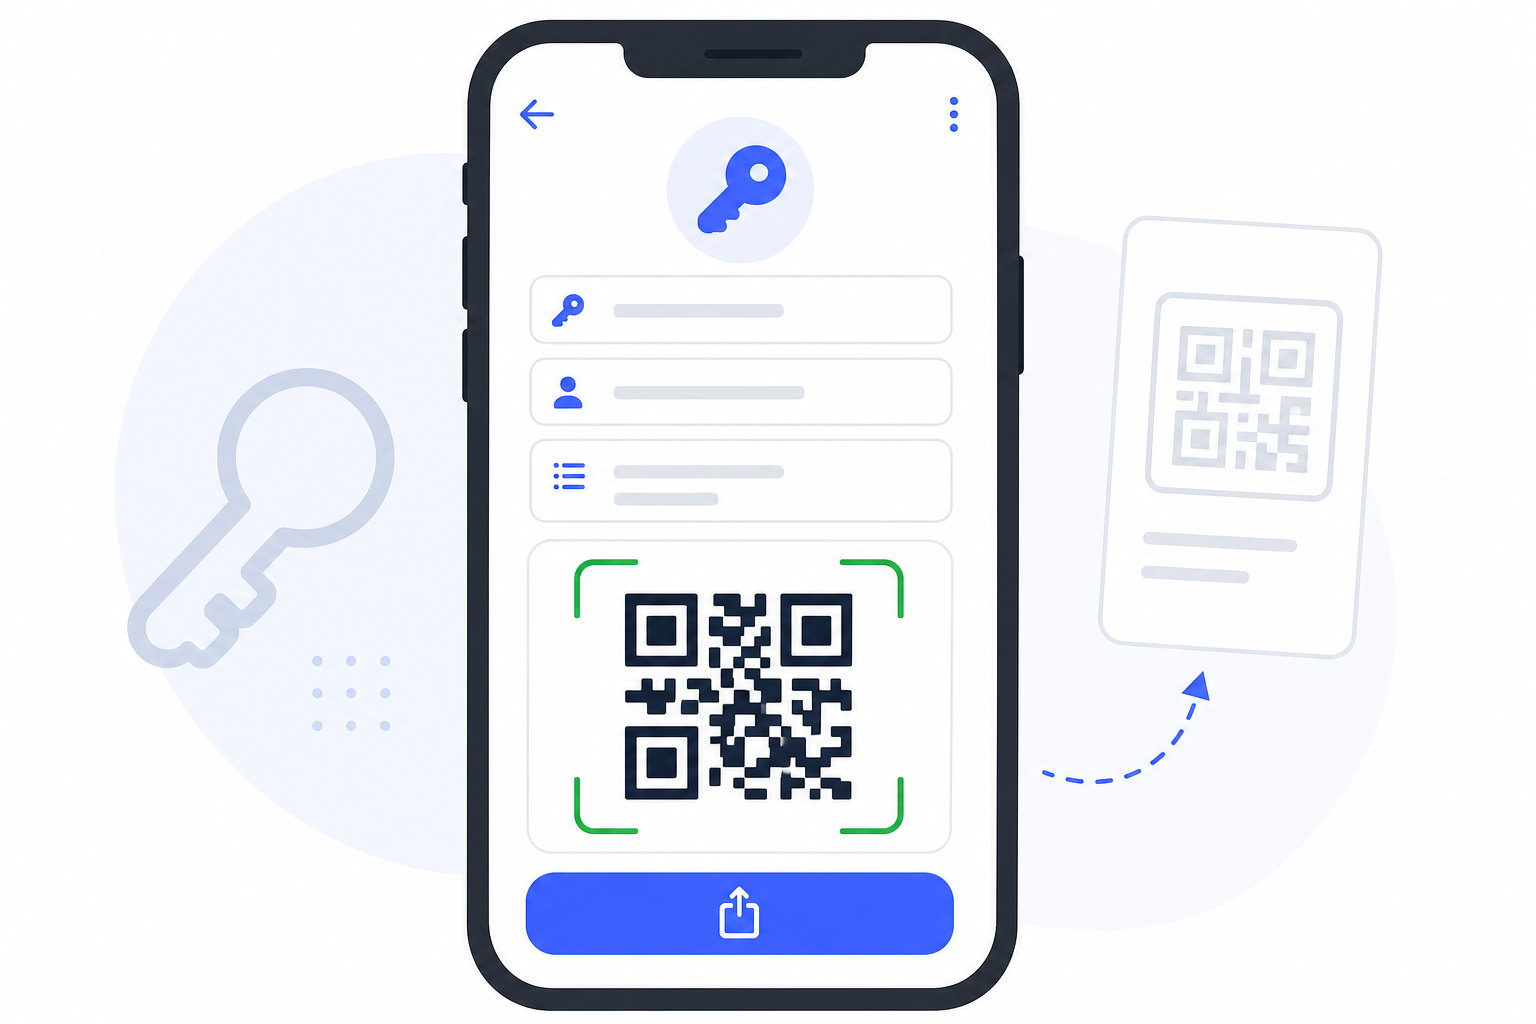
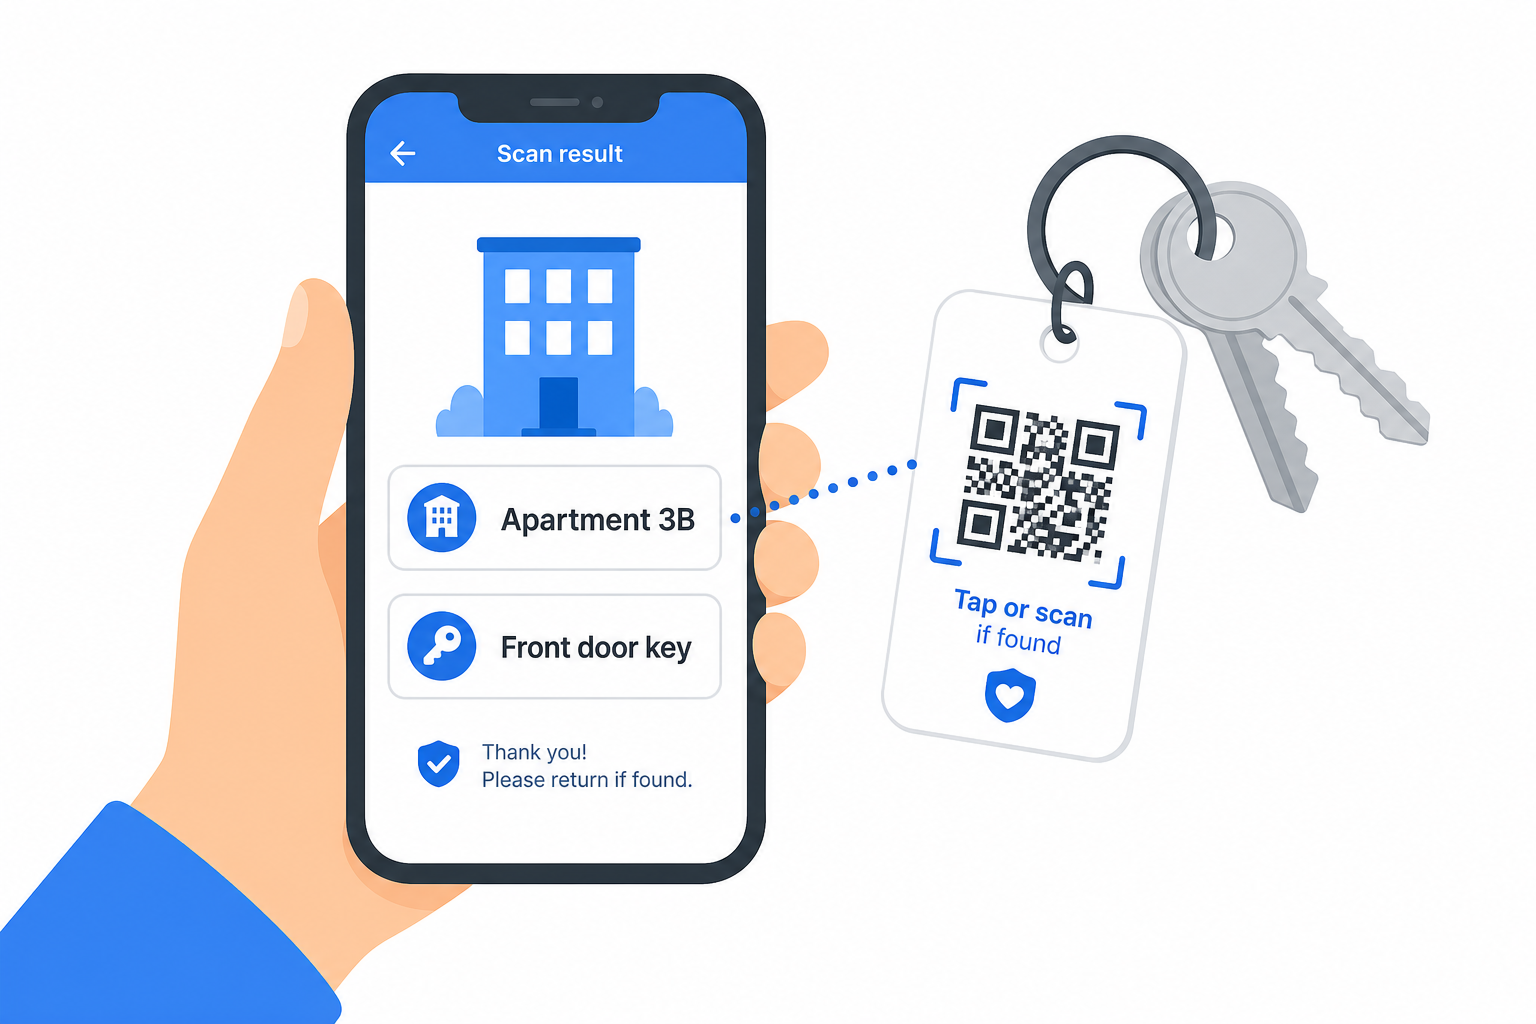
In the app: start a scan — object name, key ID, and description; open directly with “Go to object”.
What is the Lost-Key Service for?
Keys and access codes can be fully documented in the protocol app — including how many keys were handed over, total count, and spare keys kept or returned. Each key can have a unique ID, e.g. by scanning an existing code or assigning a new identifier.
Typically the ID is attached to a key tag with a QR code. This QR code ID uniquely identifies the key (or a set of keys) — without putting personal contact details on the tag itself.
The Lost-Key Service uses that ID in two scenarios:
- Key lost and found — a finder scans the QR code and notifies the owner by email.
- Key recognised — in the app, a scan instantly shows what the key is for (object, description).
Enable the module
Under Settings → Modules, the entry is “Lost-Key Service”.
- On: Lost-key features (QR code, finder page, key scanner) are available.
- Off: The module is disabled; lost-key options on keys are hidden.
- Pencil icon: opens the “Email recipient” dialog for the default email address suggested as the loss contact for new keys. The address is saved with your settings.
Each key can also have its own loss contact email (e.g. property manager instead of the organisation default).
Set up key ID and QR code
On a key in an object (key editor):
- Enter the key ID — manually or via scanner.
- Enable “Generate loss QR code” (Lost Key).
- A QR code is created (or use an existing ID tag).
- Choose email contact on loss — who should be notified if the key is found.
- Attach the QR code to the key tag, or download a ZIP (QR + flyer).
The key is then uniquely linked to an object and area without showing a name or phone number on the tag.
Use case 1: Lost-Key Service (finder)
When someone finds a key, they can:
- scan the QR code on the tag, or
- open the ID via www.deep.rent/lost-key (link encoded in the QR).
They reach an input page where they can leave contact details. The owner (the configured email) is notified about the find — privacy-friendly, without the finder needing to read your private details from the tag.
Use case 2: Identify keys in daily use (app)
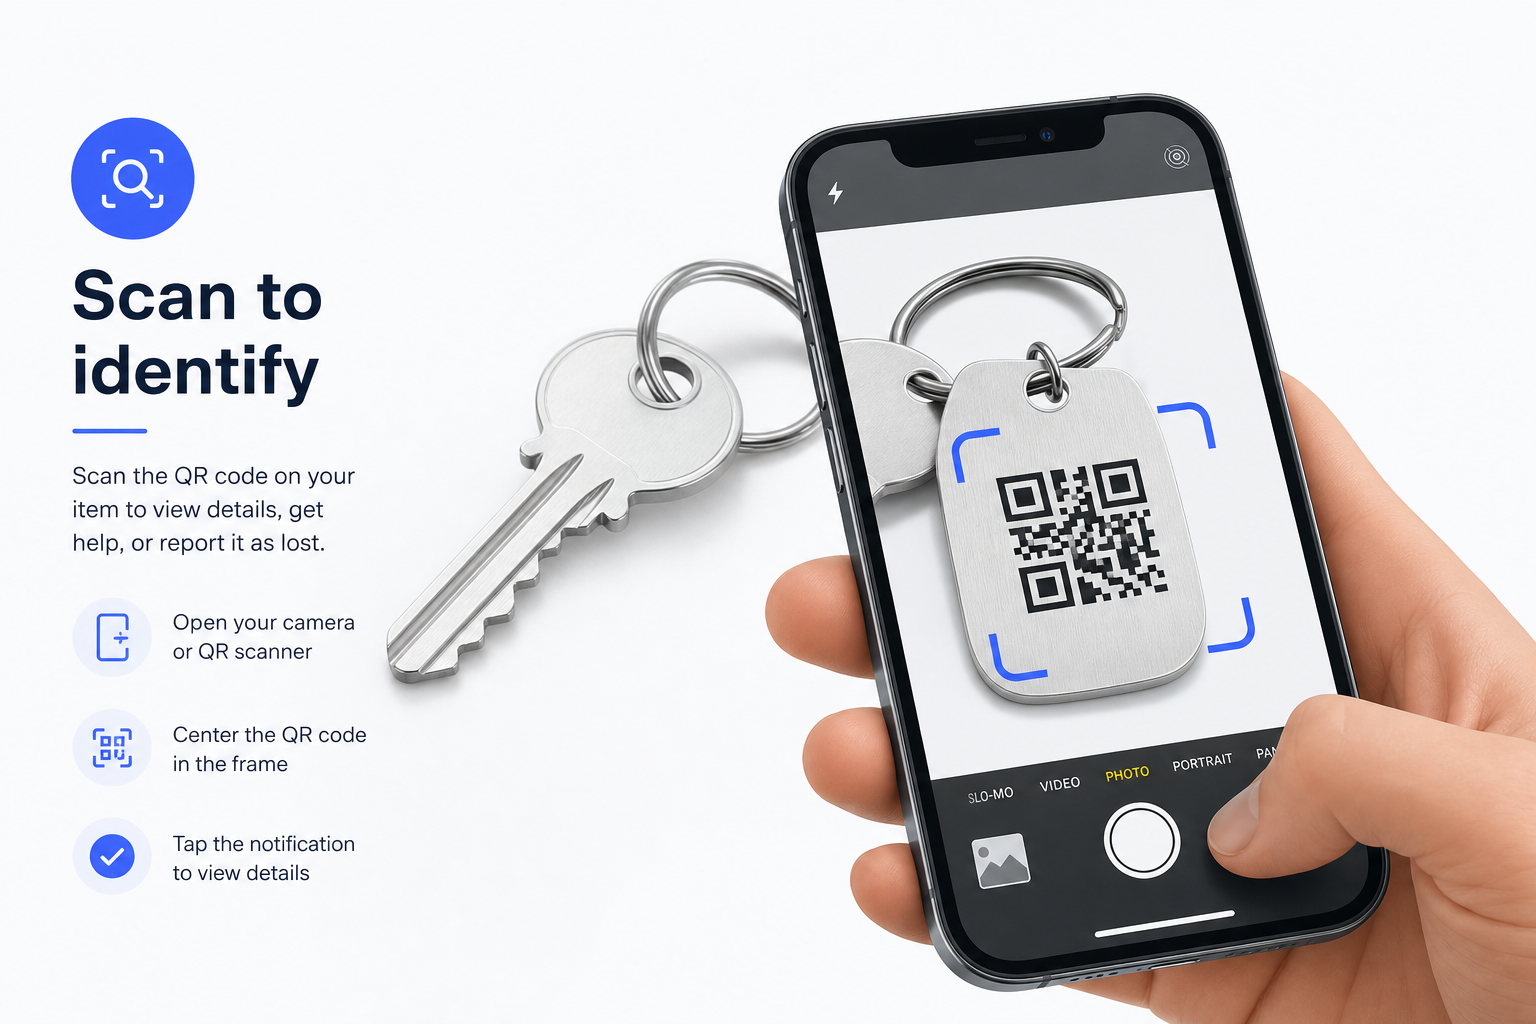
On the Start screen, open the menu (☰) and choose “Scan key” (key QR scanner).
- Allow camera access and tap Start scan.
- Point the camera at the QR code on the key tag.
- The app shows the result: object name, key ID, description (what the key is for).
- Tap “Go to object” to open the linked object directly.
Useful when many keys are in circulation and you need to know quickly which key belongs to which unit, door, or site.
Documentation in protocols
Protocols can still record:
- number of keys handed over
- total number of keys on site
- whether spare keys were kept or fully handed over
The key ID connects this documentation to the physical tag and the two QR use cases above.
At a glance
| Topic | Description |
|---|---|
| ID / QR | Unique ID on the key tag — no private data on the tag |
| Loss | Finder scans → contact form → email to owner |
| Identification | Start → “Scan key” → show object and description |
| Settings | Module under Settings → Modules; default email via pencil icon |