
Organise medical devices & equipment
Objects are stored permanently with all details and serve as the basis for maintenance, safety checks and audits.
Medical devices, equipment and laboratory analysers with areas, accessories, contacts and damage—the basis for every medical protocol.
Structured inventory management for maintenance, safety checks and audits.
Objects are stored permanently with all details and serve as the basis for maintenance, safety checks and audits.
Service technicians, QA, device operators and operators related to the object – import from local contacts directly in the protocol.
Assign medical technology and accessories to the object. Quick capture via barcode or manual entry.
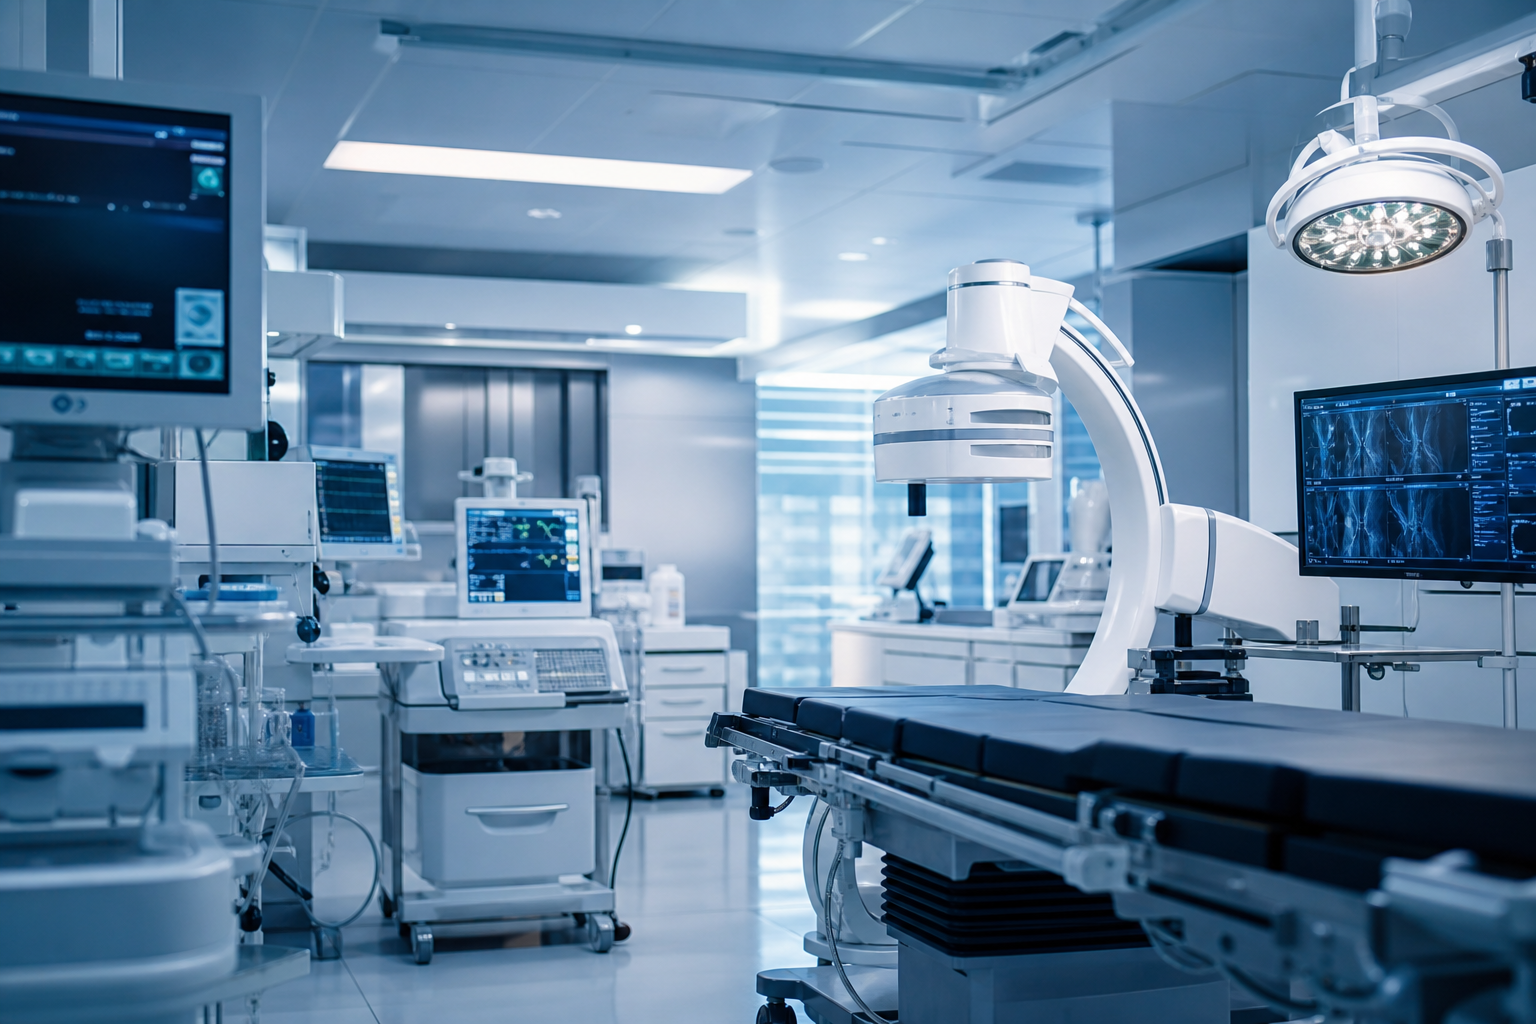
Subdivide a medical object into ward, device and laboratory with checklists, accessories and damage.
 1
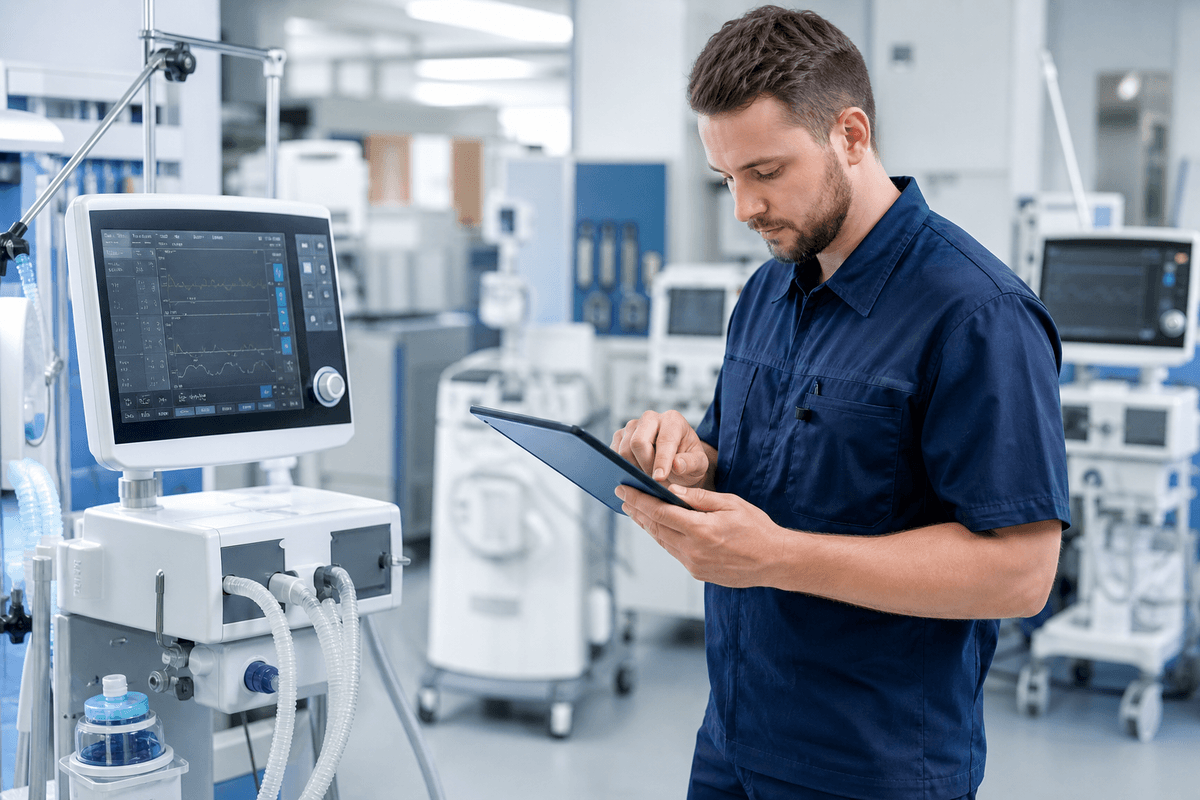
1 Assign damage directly to the object and area – with description, photos and follow-up.
 1
1 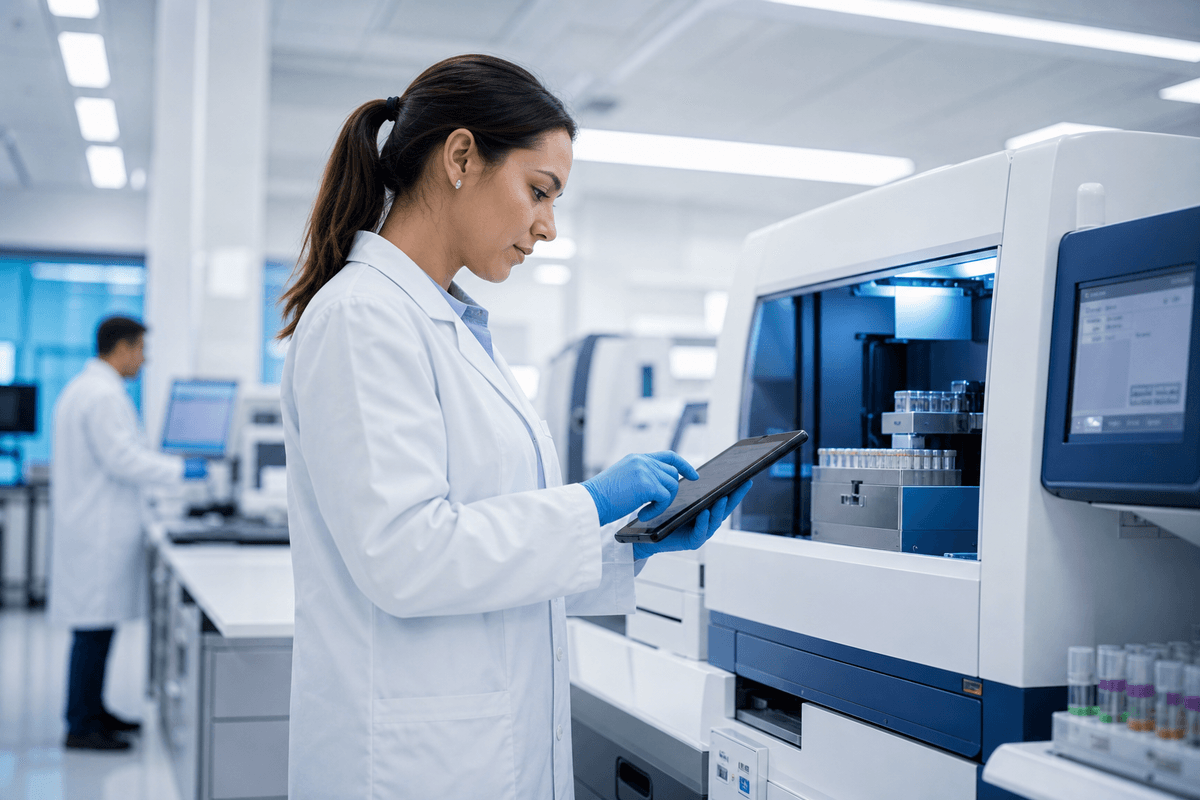
Documentation of calibration and measuring points with reading, photo and date – ideal for clinics, practices and laboratories.
Documentation of device and access keys with clear assignment for maintenance and safety checks.
Central management of clinic, practice and laboratory locations for clear assignment of devices.
Objects are stored permanently in the system and serve as the central data basis for all protocol occasions. All relevant information for an object is stored in a structured way and is automatically available for future protocols. This significantly reduces data entry effort and recurring documentation can be created efficiently.
The Protocol provides various ways to find and organise objects quickly:
These functions enable quick navigation within large object inventories.
New processes can be started directly from an object:
All data stored in the object is automatically available and does not need to be entered again.
Information captured during protocol creation can be automatically added to or updated in the object. These include for example:
This simplifies ongoing maintenance of the object structure and improves data quality over time.
A complete history of all associated protocols is displayed for each object. This allows past documentation, condition changes and inspections to be traced transparently.
Existing objects can be duplicated to create new objects with a similar structure quickly. This function is particularly useful for:
Objects can be assigned a QR code. Scanning the code opens the object directly in the system without having to perform a manual search. This enables particularly quick identification in operational use.
An object consists of several structured information areas:
This structure enables detailed and traceable object management.
Plan documents such as floor plans or overview plans can be stored for an object. These serve as a visual basis for documenting areas, defects or systems within an object.
Objects can also be supplemented with stored links, for example to:
This information is always available centrally in the object.
An object can be assigned an external object ID. This enables integration with external systems via interfaces or webhooks and facilitates data synchronisation between different platforms.
An object can also be supplemented with a Markdown-based description. This is suitable for example for:
Markdown allows structured content such as headings, lists or links to be stored directly in the object.
👉 Example: Create a medical device, equipment unit or laboratory analyser, maintain modules and accessories – for every subsequent maintenance or safety check all data is available automatically.
🎯 One object, one source – maintenance, safety checks and audits use the same master data without duplicate maintenance.
Contacts and companies related to an object can be managed directly within the Protocol and assigned to the relevant protocols. Contacts can be imported quickly from local address books or created directly in the system. This means all relevant participants – such as operators, service technicians, QA or device operators – are always available centrally.
An integrated search function enables quick finding of persons or companies within the system. Contacts can be selected and assigned directly to an object or protocol.
Each contact can be assigned a role to clearly define their relationship to the object or protocol. Examples include:
The role structure simplifies the organisation of participants and ensures clear assignment within the documentation.
Visibility settings can be defined for each contact. This determines which information is displayed within a protocol:
This allows personal data to be protected or only partially visible as required.
When capturing contacts, the Protocol supports automatic address completion. This enables addresses to be entered quickly and without errors while ensuring a consistent data structure.
When removing a contact, it can optionally be specified whether all protocols linked to this contact should also be deleted. This function enables consistent data cleansing and supports data protection requirements.
👉 Example: Assign service technician, QA, device operator or operator with a role – import from the address book or create directly.
🎯 Contacts and companies central to the object – roles, visibility and address completion in one.
The Protocol enables structured capture and management of an object's equipment, inventory and technical systems. All relevant information – from photos and receipts to product details and warranty data – can be stored in one place. This creates a complete and traceable long-term record of the equipment on site.
Equipment and inventory entries can be assigned either to the entire object or to specific object areas. This allows devices, furniture or technical systems to be precisely located and managed in a structured way.
Relevant documents can be stored for each equipment item, for example:
These documents are always available centrally and simplify handling warranty claims or maintenance processes.
A precise product designation can be stored for each inventory item. In addition, a direct link to operating instructions or technical documentation can be stored.
This allows users to access important information quickly without having to search through external documents.
The Protocol allows warranty or guarantee periods to be stored for each equipment item. This makes it possible to see at any time whether a device is still within its guarantee period.
This information supports efficient management of repairs, replacement procurement or maintenance measures.
👉 Example: Capture medical technology, accessories and components via barcode, store receipts and warranty – assign to the object or individual modules.
🎯 Medical technology and accessories structured on the object – with receipts, manuals and warranty.
1 Objects can be subdivided into individual areas (ward, device, laboratory) to enable detailed and clear documentation. Each area forms its own structure within the object and can be linked to checklists, equipment entries and documented defects. This allows conditions, systems or inventory to be assigned precisely to a spatial context.
Permanently stored images (Store Images) can be added to each area. These serve as a visual reference and can contain for example:
These images are automatically available for every future protocol creation.
The designation of an area can be defined freely. In addition, areas can be structured in groups to organise larger objects clearly – for example by floor, building section or functional area.
A detailed description can be stored for each area. This description supports Markdown formatting, allowing structured content such as headings, lists or notes to be stored directly in the area.
This is suitable for example for:
Areas can be positioned within a stored object plan or floor plan. This enables visual assignment within the building and allows areas to be identified quickly.
The visibility of individual areas can be controlled for protocols. Areas can be shown or hidden when creating a protocol.
This allows flexible adaptation of the documentation – for example when only certain parts of an object are to be inspected or documented.
👉 Example: Group areas by ward, device or laboratory, assign store images and plans – available at every maintenance visit.
🎯 Structure the object into ward, device and laboratory – with checklists, accessories and damage per area.
1 The Protocol enables structured capture of defects directly at the object and within individual areas. Each defect is documented with description, media and organisational measures and remains traceable on a permanent basis. This creates a transparent basis for maintenance, responsibilities and subsequent billing.
Defects can be assigned either to the entire object or to individual areas (ward, device, laboratory). This assignment enables precise documentation and makes it easier to find and track damage later.
Photos and videos can be stored permanently for each defect. The media are captured once and remain linked to the defect in the long term.
This enables:
The description of a defect can be done in various ways:
This allows damage to be documented quickly, even directly during an inspection.
Defects can be positioned precisely within a stored object plan or floor plan. The marking on the plan enables visual assignment and makes it easier to find the damage within the object.
For each defect, it can be defined which party is responsible for rectification. This is done via role assignment, for example:
This assignment creates clear responsibilities within the documentation.
In addition, it can be specified which role covers the cost of rectification, for example:
This information is stored directly in the defect and simplifies subsequent billing.
The expected or actual amount of damage rectification can be stored for each defect. These costs can later be used in the QA clearance and remediation module to represent financial claims transparently.
Defects can be given priorities. Damage with high priority is displayed prominently on the start page, for example, to enable quick processing.
Once a defect has been rectified, it can be marked as completed. Completed measures are documented in the protocol under "Remediation – Completed orders".
This means the entire lifecycle of a defect – from identification to rectification – remains fully traceable.
👉 Example: Capture damage with photo and plan position, assign responsibility and cost coverage – trackable through remediation and QA clearance.
🎯 Document damage on medical devices and equipment – with media, measures and QA clearance.
Meters for electricity, gas, water or other consumption values can be created directly in the object and assigned to a specific area. The current meter reading can be captured quickly in the overview and additionally documented with photo and date, so that the status remains traceable at all times.
👉 Example: Create calibration and measuring points, capture reading with photo – traceable for clinic, practice and laboratory.
🎯 Calibration and measuring points on the object with reading, photo and date – captured for maintenance and audits.
All keys and access options for an object can be fully documented. This records how many keys exist in total and how many were actually handed over at maintenance or the safety check. In addition, it can be confirmed whether spare keys are retained or fully handed over. Each key ID can be captured easily – for example by scanning a code – and uniquely assigned to the object or area.
With the Lost Key Service from deep.rent, keys can be assigned simply and uniquely without putting personal contact details on the key itself. For each key, a dedicated QR code can be generated or an existing ID tag can be used. In addition, an email contact is stored to be notified in case of loss.
When the QR code is scanned or the ID is opened via www.deep.rent/lost-key, the finder is taken directly to an input page. There they can leave their contact details and inform the device operator about the find. This creates a simple, privacy-friendly way to get lost keys back more quickly.
👉 Example: Capture device and access keys with quantity, store PIN – assign to the object or area.
🎯 Document device and access keys with quantity and ID – maintenance and spare keys remain traceable.
Addresses are captured once in a central place and can then be assigned to multiple objects. This allows buildings, facilities or areas to be structured clearly and reused. Address entry is supported by integration of the Google Maps API, so that addresses can be found quickly, completed automatically and positioned precisely.
👉 Example: Create a clinic, practice or laboratory location, assign it to several devices – capture and locate quickly with Google Maps.
🎯 Manage locations centrally and assign to several objects – with Google Maps API for precise capture.
Structured, traceable, ready to use.
Up-to-date object data
Objects are created once with all details – including address, areas, equipment, metering devices and keys – and remain up to date for every handover, take-back, inspection or sale.
Structured defect capture
Defects can be captured once for the object, area or equipment and assigned to a contact with direct measure and cost.